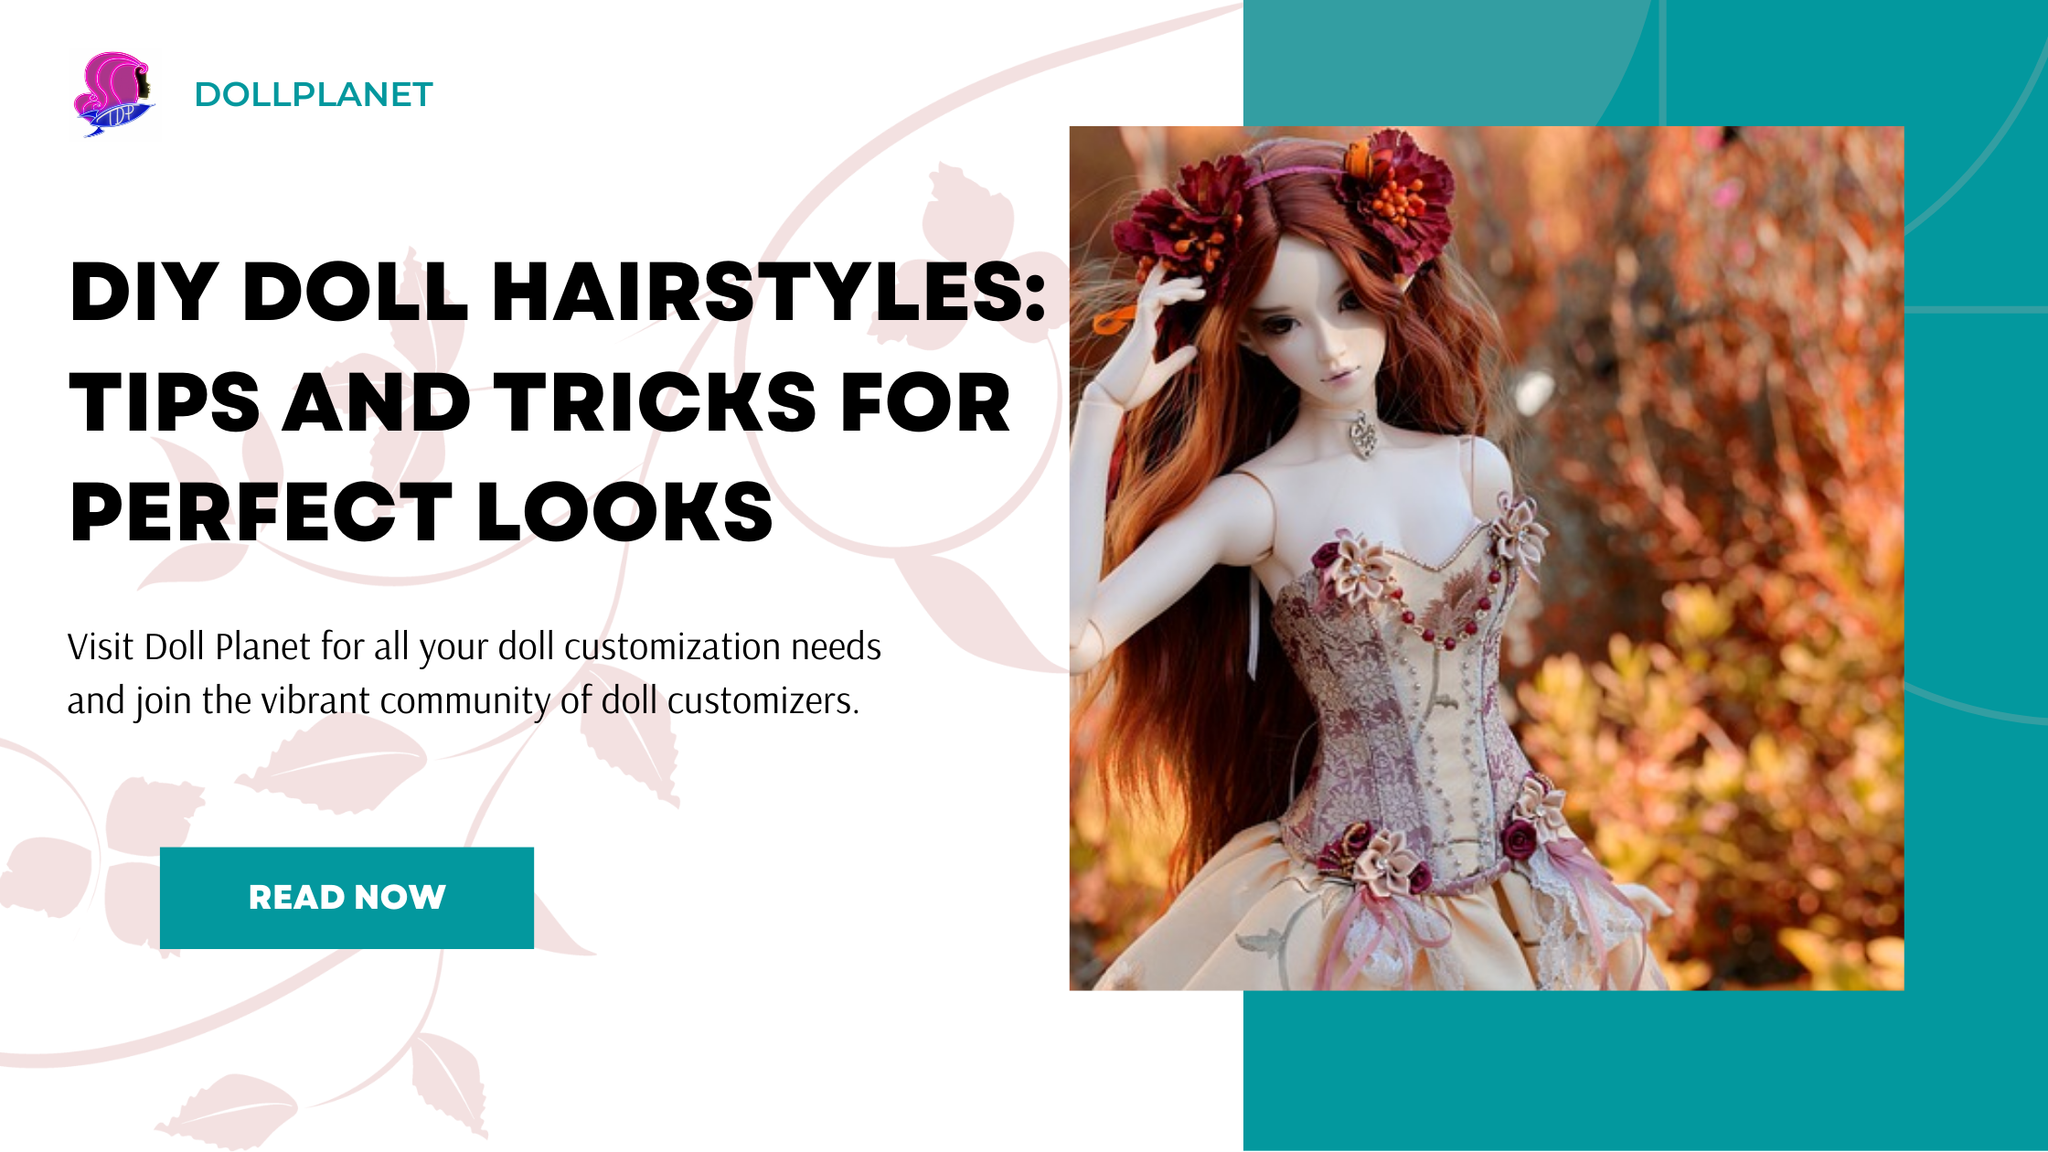
Customizing your fashion dolls can be a fun and rewarding hobby. One of the most enjoyable aspects of doll customization is creating easy doll hairstyles step by step. Whether you're new to this hobby or a seasoned doll customizer, Doll Planet has everything you need to bring your creative visions to life.
In this article, we'll explore various hairstyles for dolls. From nylon in various textures to Japanese saran, and from rerooting needles to specialty glues, you’ll find everything you need to customize your doll's hair.
easy doll hairstyles step by step
Essential Tools and Supplies

Before diving into the hairstyles, let’s go over the essential tools and supplies you’ll need:
Rerooting Kits
These kits include all the necessary materials to replace your doll’s hair.
Nylon Hair
The most commonly used for its softness and easy styling abilities. Available in straight, crimped, curly, s-curl, and micro braids.
Japanese Saran Hair
A popular choice for doll hair due to its matte finish. Saran is a little waxy because the manufacturer adds an anti-static film to the fiber. This can be washed after rerooting to feel more natural.
Rerooting Needles
Essential for the rerooting process and available in 4 sizes. Size 7 is the smallest and is ideal for fine detail, lashes and very small heads like Topper Dawn. Size 5 is the most commonly used for most fashion dolls. Size 3 is for rerooting larger baby doll heads, large fashion doll heads, and for rerooting braids 1mm-1.5mm. Size 1 needles are quite large, but needed for 2mm-3mm braids and for larger fiber like yarn. All needle sizes are helpful to have on hand so that you have them when you need them. When rerooting with larger size 3 and size 1 needles make sure to prep the head with liquid fusion to strengthen the head to avoid splitting.
Specialty Glues
There are multiple glue options. Galaxy glue bonds well to all hair types, can be used to seal acrylic paint when prepping the doll head, and is easy to clean up since it is water based. Fabri-tac glue also works well for bonding to all fiber types, but is flammable. Harsher chemicals are required to clean up from using this product, like acetone or paint thinner. Tacky glue is perfect for making doll wigs. Liquid Fusion is a polyurethane material that bonds to make strengthening layers on doll heads to repair or prevent splits. Triple Thick is a glaze that creates beautiful depth when used over painted lips and eyes.
Apoxie Sculpt
For sculpting custom parts. This is an air dry clay that makes it super easy to create shapes and accessories for your one of a kind creations. This is available in several base colors to make it easier to cover in paint.
Liner Brushes and Gouache Acrylic Paints
For detailing and finishing touches. Liner brushes will create that super fine detail you need for doll scale faceups. Gouache is a brand that is incredibly smooth for those fine details you need on dolls.
Step-by-Step Guide to Easy Doll Hairstyles

Creating easy hairstyles for dolls can be a fun process. Here’s a simple step-by-step guide to get you started:
1. Straight and Sleek Hairstyle
Step 1: Select straight nylon or Japanese saran hair from Doll Planet.
Step 2: Use a rerooting tool to easily insert the hair to your doll’s head.
Step 3: Once rerooting is complete, use a small amount of specialty glue to secure the hair inside the head. Use a q-tip to move the glue around in the head to get ideal glue coverage. Let dry overnight. If it is still tacky, too much glue has been used and glue needs to be removed with a q-tip.
Step 4: start with a boil wash so that the hair volume is sleek. Trim the hair to your desired length and use a fine-tooth comb to style. Secure with gel or hairspray.
2. Cute Doll Hairstyles with Braids
Step 1: Choose a shade of micro-braid nylon hair.
Step 2: Pre-treat the head by placing it in boiling water for two minutes. If the head still has visible and/or sizable holes,use liquid fusion to cover the holes. It is also a good practice to apply 2-3 layers of Liquid Fusion glue to prep the head before rerooting with braids. You will be using larger needles and the plugs of braids are larger. Liquid Fusion prep will prevent the head from splitting.
Step 3: use a rerooting tool to insert into the head. Use a size 3 needle for 1mm-1.5mm braids. Size 1 needle for 2mm-3mm braids. Another method is using tacky glue, you can glue braids to the head.
Step 4: Boil wash the hair so it lays closer to the head.
Step 5: seal the hair in the head with glue using a q-tip.
3. Curly Ringlets
Step 1: Select larger curly nylon hair (10mm or bigger) for a bouncy look.
Step 2: Use a rerooting tool to insert the hair in the doll’s head.
Step 3: When completed , seal the hair with glue inside the head.
Step 4: Carefully separate a small section of curls and spray with a water
bottle.gently comb out curls. Wrap the section around your finger in a ringlet shape. Carefully remove the finger and secure it with gel. Trim curl to desired length.
Tips and Tricks for Perfect Doll Hairstyles
Creating perfect hairstyles for dolls takes practice and patience. Here are some tips and tricks to help you achieve the best results:
- Preparation is Key: Ensure you have all your tools and supplies ready before starting. Doll Planet offers rerooting kits to help you get started.
- Follow Tutorials: Check out the free tutorials on YouTube.DollPlanet.com to learn basic and advanced rerooting skills and techniques.
- Join the Community: Engage with other customizers on the Facebook group "Doll Planet Re-rooters & Wig Makers". Share your work, ask for advice, and get inspired by other creators.
- Experiment with Textures: Try different types and textures for a variety of different looks.
Secure the Hair: Use specialty glues to ensure the hair stays in the head.
Exploring Advanced Hairstyles

Once you’ve mastered the basics, you can experiment with more advanced hairstyles to do on a doll. Here are some ideas:
Part line: Experiment with changing the placement of the partline for a unique look.
Curling straight hair: use cut up straws or pipe cleaners as curlers to create a large variety of curl types.
Fantasy Hair: Combine and/or blend bright colors for your own unique look.
Creating beautiful hairstyles for dolls is a fulfilling way to showcase your creativity and customize your fashion dolls. With the right tools and supplies from Doll Planet, you can easily achieve stunning looks. Whether you're creating easy cute doll hairstyles step by step or experimenting with advanced techniques, the resources and community support at Doll Planet will guide you every step of the way. Visit Doll Planet for all your doll customization needs and join the vibrant community of doll customizers.
FAQs
1. How to make hairstyles for dolls?
Making hairstyles for dolls involves using rerooting kits and hair from specialty shops like Doll Planet. Start by selecting the type of hair you want, such as nylon or Japanese saran. Use rerooting needles to insert the hair to the doll's head, secure it with specialty glue, and then style it using combs, water, and other tools.
2. How to do doll hairstyles?
To do doll hairstyles, select your desired hairstyle, such as braids, curls, or straight hair. Use appropriate hair from Doll Planet and follow step-by-step tutorials. Reroot the hair, trim it to the desired length, and use styling tools like combs, water, and small rubber bands to achieve the final look.
3. What is the best type of doll hair?
The best type of doll hair depends on the look you want to achieve. Nylon hair is durable and versatile, available in straight, curly, s-curl, braids and crimped textures. It is super soft and easy to curl. Japanese saran hair is more matte, ideal for creating sleek, natural looks or restoration. It does require gel or hairspray to hold curls in place. Both types are popular among doll customizers for their quality and range of options.
4. How to style My Generation doll hair?
Styling My Generation doll hair involves gentle handling and using the right tools. Start by detangling the hair with a fine tooth comb. Use small hair ties, water sprays, and styling products designed for dolls for intricate styles. You can create braids, ponytails, and other cute hairstyles by carefully sectioning the hair and securing each part.